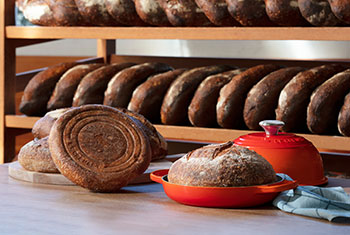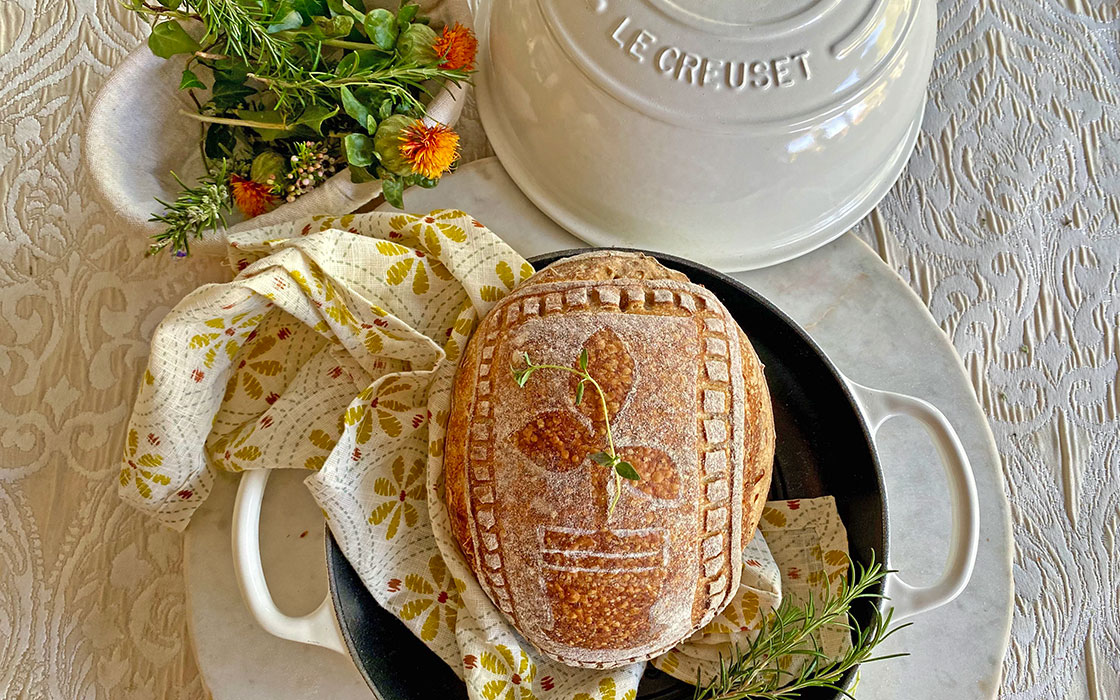
The Le Creuset Bread Oven makes it easy to create bakery-quality bread at home. But if you really want your loaves to look like they just came from your favourite bakery, try decorating and stencilling your bread for an artisan touch that truly takes it to the next level of deliciously beautifulness.
While it might seem intimidating to create intricate designs and patterns on your loaves, it is really quite simple. Follow our expert tips and tricks for how to get started decorating and stencilling bread at home.
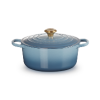
Shop the Bread Oven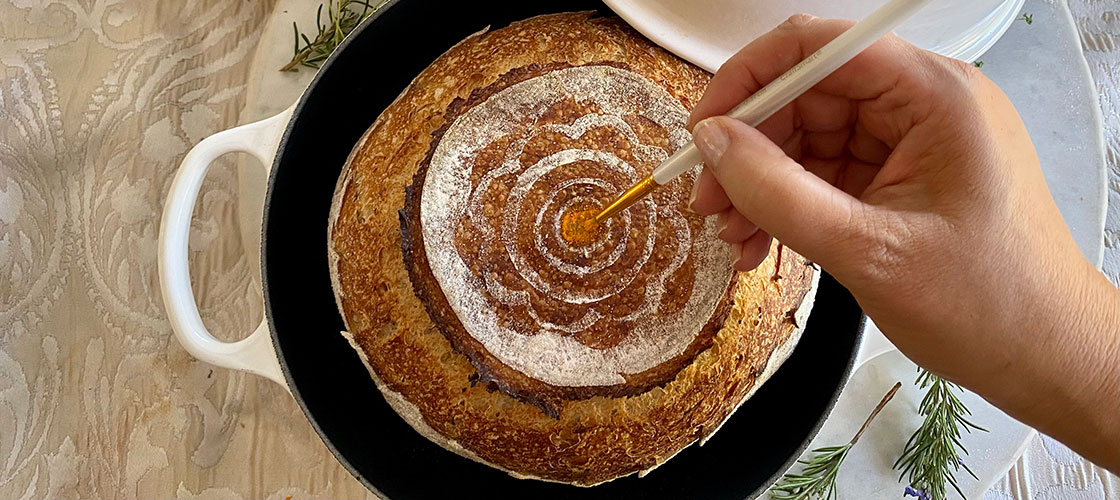
How to Stencil Bread
Using a stencil to decorate your bread is a fun way to give it your unique hallmark and show that it was truly handmade. You can buy bread stencils at a craft store or online, or it’s easy to make your own designs at home. In fact, we were inspired to create our own fun stencilling templates. With both seasonal and classic Le Creuset emblems, they work perfectly for either Bread Oven or Casserole bread. Simply right-click on the link below to download them:
Download Le Creuset Bread Stencils
Print the template out on lightweight cardstock, parchment, or acetate sheets. You want something not too thin and flimsy but not too thick and won’t bend. Cut out the grey parts of the pattern using a small, sharp blade or scissors. If you’re creating your own stencil, use your favourite design program to create a pattern or hand-draw it on craft paper. It's best to start with a stencil that is not too intricate. As you gain confidence, you can use stencils with multiple layers, creating more depth to your design.
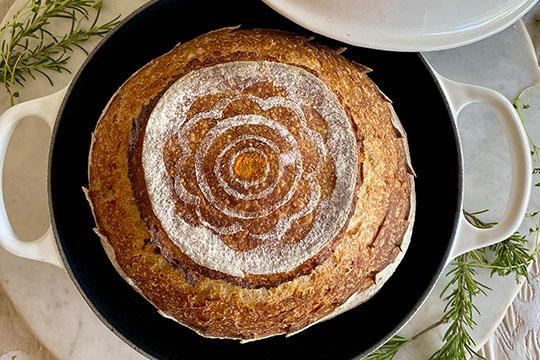
In terms of what to use to create the pattern, all-purpose or white rice flour is the most common. But if you’d like to get creative, try cocoa or dried aromatic spices. Turmeric is also a great option because of its gorgeous golden colour. Mixing white rice flour with turmeric (or other spices and food colourings) can create a rainbow of shades.
The dough is your canvas. Be inspired and create with love.
How to Decorate Bread
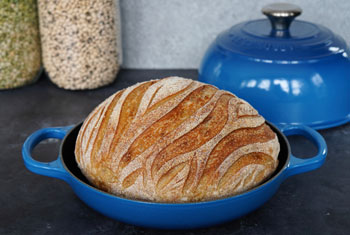
Scoring your bread dough right before it goes into the oven is an essential step in the baking process. It allows the loaf to rapidly expand in a controlled way to help it achieve maximum height and prevent cracking. Some like to give their dough a simple slash, but this is another perfect opportunity to add a unique embellishment and decoration to your finished loaves.
Be inspired by the seasons; natural elements work beautifully with bread, such as leaves, florals and vines. A gorgeous sunset also works beautifully on a dough’s canvas. After baking, you can even complement your intricate designs with edible flowers.
As for what tools to use for scoring and decorating bread, you can test and try what works best for you. From small scissors, a bench scraper, sharp knives, skewers, tweezers and even kitchen twine to get the desired pattern you're looking for.

Decorating and Stenciling Tips from Our Kitchen
Once you have your pattern idea picked out and/or your stencil ready, here are some additional tips on how to decorate and stencil bread:
- Choose a dough with a strong gluten structure, like sourdough. Doughs with less structure will spread out immediately, making it difficult to create a cohesive design.
- Place your dough in the refrigerator, either in a banetton or the Bread Oven, overnight for 12-18 hours before decorating and baking. You will find that your dough holds its shape better when stencilling, scoring, and decorating.
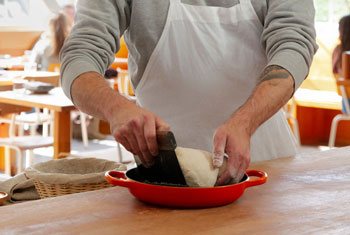
- After the second rise, when you’re just about to put the bread in the oven, you want to stencil and/or decorate your loaf.
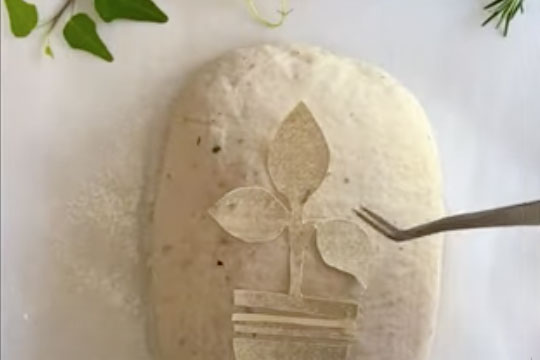
- When stencilling, lightly mist the dough with water to help the stencil and flour adhere better. Lay the stencil on top of the dough where you want the design to appear. Use a small flour sifter or spoon to lightly shake flour, cocoa or spices over the open spaces of the stencil. Carefully remove the stencil by lifting it straight up off the dough to create the pattern.
- Most importantly, practice and have fun! Enjoy the gentle rhythms of bread making.